0

Your Cart is Empty

How to create a vector file in Canva?

Can I Create a Vector File in Canva?

Canva is a design platform focused on layout and composition, not a vector-authoring environment. This distinction is important. Vector graphics require direct control over paths, nodes, and Bézier curves. Canva primarily abstracts those mechanics behind templates and visual controls.

Critical baseline:

  • Vector graphics → mathematical paths / geometry

  • Raster graphics → pixels / resolution-bound

  • File format / extension → does not guarantee data structure

Canva can export files using vector-capable containers such as PDF or SVG (depending on plan and settings), but exporting to a vector container does not automatically produce vector geometry suitable for production workflows.


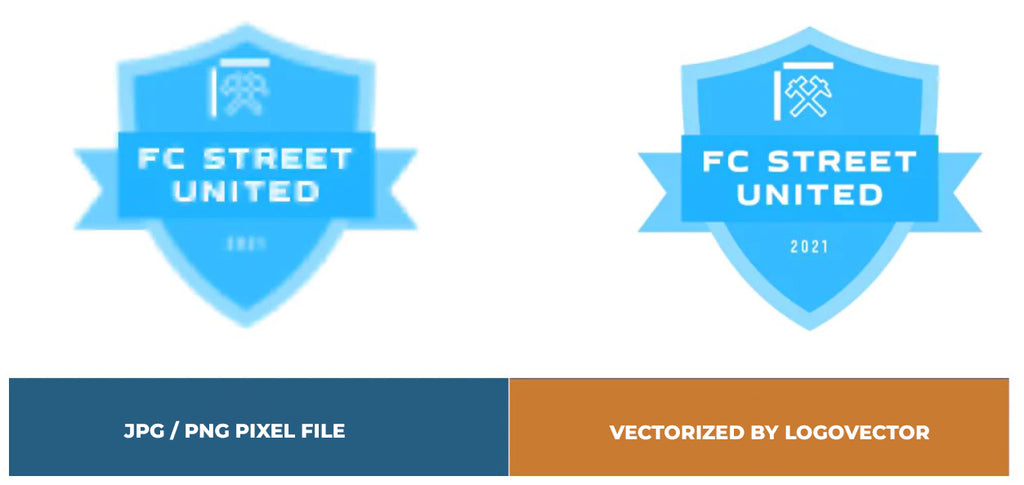
Raster vs vector — structural difference

Raster images (JPG / PNG) store color information per pixel. Scaling relies on interpolation, which introduces softness or visible artefacts when enlarged beyond native resolution.

Vector files behave differently:

✓ Shapes defined by coordinates and curves
✓ Resolution-independent scaling
✓ Geometric edge stability

This behavior is determined by internal structure, not by software branding or file extension. 

Canva logo

How to Make a Vector File in Canva

Canva is not a vector-authoring application. It does not expose direct control over paths, nodes, and Bézier curves, which define true vector geometry. However, Canva can generate designs that behave visually similar to vector artwork under certain conditions.

Critical baseline:

  • Canva → layout / composition platform

  • Vector graphics → path-based geometry

  • PNG / JPG → raster outputs

  • PDF / SVG → containers (vector not guaranteed)

The objective inside Canva is therefore not “vector creation”, but maintaining geometric scalability of design elements where possible.


Structural constraints to understand first

Within Canva, different element types behave differently during export:

✓ Native shapes / lines → typically resolution-independent
✓ Text objects → often preserved as vector data in PDF/SVG
✗ Imported images → always raster content
✗ Effects / filters → commonly rasterized

Because of this, a Canva design may contain both scalable objects and fixed-resolution imagery.


Step-by-step workflow — Creating a vector-like design in Canva


Step 1 — Start with a geometry-friendly design

  1. Open Canva

  2. Create a new design (template or custom size)

Prefer clean compositions:

✓ Solid colors
✓ Simple shapes
✓ Clear edges
✓ Minimal raster imagery

Why: vector behavior relies on geometry, not pixel detail.


Step 2 — Use native Canva elements whenever possible

Construct the design using:

✓ Built-in shapes
✓ Lines
✓ Icons
✓ Text objects

Avoid:

✗ Uploading low-resolution JPG/PNG logos
✗ Heavy texture overlays
✗ Complex bitmap effects

Why: native objects are more likely to remain resolution-independent during export.


Step 3 — Maintain geometric simplicity

While designing:

✓ Avoid excessive layering
✓ Limit unnecessary effects
✓ Keep shapes logically separated

Why: downstream vector workflows depend on clean object structures.


Step 4 — Export using a vector-capable container

Preferred export formats:

PDF Print (most predictable)
SVG (if available)

Less suitable for scaling workflows:

✗ PNG / JPG (always raster)

Important nuance:

Vector-capable container ≠ guaranteed vector content.


Step 5 — Understand what the export actually contains

After export:

✓ Text and simple shapes often remain vector
✗ Uploaded images remain raster
✗ Certain effects may be flattened

Why: Canva selectively rasterizes content based on internal rendering rules.


Step 6 — Verify vector structure if production use is intended

Open the exported PDF/SVG in vector-native software.

Check for:

✓ Selectable paths
✓ Editable shapes
✓ Absence of embedded raster imagery (if required)

Why: file extension alone does not define vector validity.


Step 7 — When true vectors are required

If the Canva output must function as a production-grade vector file:

✓ Reconstruct geometry in Illustrator / Inkscape / CorelDRAW
✓ Perform node and path cleanup
✓ Export EPS/SVG/PDF from vector objects

This step is vector reconstruction, not format conversion.


Common misconceptions about Canva and vectors

✗ “Exporting PDF = vector file created”
✗ “Scaling PNG without visible artefacts = vector behavior”
✗ “SVG export guarantees production vectors”

Vector graphics are defined by internal geometry, not visual appearance.


Practical conclusion

Canva can produce designs that appear resolution-independent when composed primarily from native elements and exported via vector-capable containers. However, Canva does not provide full vector editing or reconstruction capabilities.

When precise geometric control or fabrication workflows are involved, vector-native applications remain technically necessary.

Is Canva a Vector Editing Software?

While Canva offers vector-like elements and the ability to create designs that resemble vector images, it is not a dedicated vector editing software. If you need to work with true vector files, consider using specialized vector editing tools such as Adobe Illustrator, Inkscape, or CorelDRAW.

Can Canva Save Vector Files?

Canva does not support saving designs in true vector formats like SVG, AI, or EPS. However, you can export your design in high-resolution PNG or PDF formats, which may suffice for many purposes. Keep in mind that these formats are still raster-based, so the image quality may degrade if the design is scaled up significantly.

In conclusion, while Canva is an excellent graphic design tool for various purposes, it does not offer true vector file creation capabilities. To work with vector files, it's best to use dedicated vector editing software. Nonetheless, Canva's vector-like elements and high-resolution export options can still help you achieve a professional-looking design for many applications.

Create vector file online


We are happy to help you on your way with the vectorization of your logo or image. You send us the logo in JPG, PNG or PDF and we convert the logo into an EPS vector file using Adobe Illustrator. We use the pen tool and recreate the logo manually with the correct fonts. Then we export the new vector logo in an EPS file so you can get started!

How to make a vector file?

Advantages of vector file creation by Logovector:

  • Perfect quality (Made by designers with 10+ years of experience)
  • We vectorize images, photos, logos and drawings
  • Fast delivery within 10 hours
  • All necessary file types: EPS, AI, SVG, PDF
  • Very easy to order via the website
  • Small adjustments are possible 
  • One-time payment (very attractive price)
    Order my vector file