Your Cart is Empty
How to create a vector file in GIMP?
GIMP(GNU Image Manipulation Program) is a widely used open-source raster graphics software. While it's not specifically designed for vector graphics, it does offer some basic vector capabilities. In this blog post, we'll discuss the nature of vector files, explore GIMP's vector features, and provide a guide on creating a vector logo in GIMP.
![]()
What is a vector file?
A vector file is a digital image file that stores graphical data as mathematical formulas. These formulas define the points, lines, curves, and shapes that make up a vector image. Unlike raster images, which are composed of individual pixels, vector images can be scaled infinitely without losing quality. This makes them an ideal choice for logos, illustrations, and other graphics that require precise resizing or high levels of detail.
Can GIMP export as a vector file?
GIMP is primarily a rastergraphics software, and its native file format (.xcf) is not a vector format. However, GIMP does have some limited vector capabilities through its paths tool and can export these paths as Scalable Vector Graphics (SVG) files. It's important to note that this only applies to paths created in GIMP, and any raster elements within the image will not be converted to vector format during the export process.
Does GIMP have a vector tool?
GIMP features a paths tool that allows for the creation and editing of vector paths. The paths tool can be used to draw lines, curves, and shapes that can be edited and manipulated independently of the raster image. Although GIMP's vector capabilities are limited compared to dedicated vector graphics software like Adobe Illustrator or Inkscape, the paths tool can still be used for basic vector tasks.
Create a vector logo in GIMP
To create a vector logo in GIMP using the paths tool, follow these steps:
- Launch GIMP and create a new document with the desired dimensions.
- Select the paths tool from the toolbox or press the "B" key.
- Click on the canvas to create anchor points and draw the shapes that make up your logo. To create curves, click and drag the anchor points while holding the left mouse button.
- Use the tool options, such as "Edit" and "Design," to adjust the paths and create the desired shapes for your logo.
- If you want to add color to your logo, create a new layer and use the "Paint Bucket" tool to fill the areas enclosed by the paths.
- Once you're satisfied with your logo design, export the vector paths by going to File > Export As.
- Choose "Scalable Vector Graphics (*.svg)" as the file format, enter a file name, and click "Export."
- Adjust the SVG export settings if necessary and click "Export" again to save the vector paths.
Keep in mind that GIMP's vector capabilities are limited, and the exported SVG file may not be as flexible or precise as those created in dedicated vector graphics software. For more advanced vector work, consider using a program like Adobe Illustrator or Inkscape.

Create vector file online
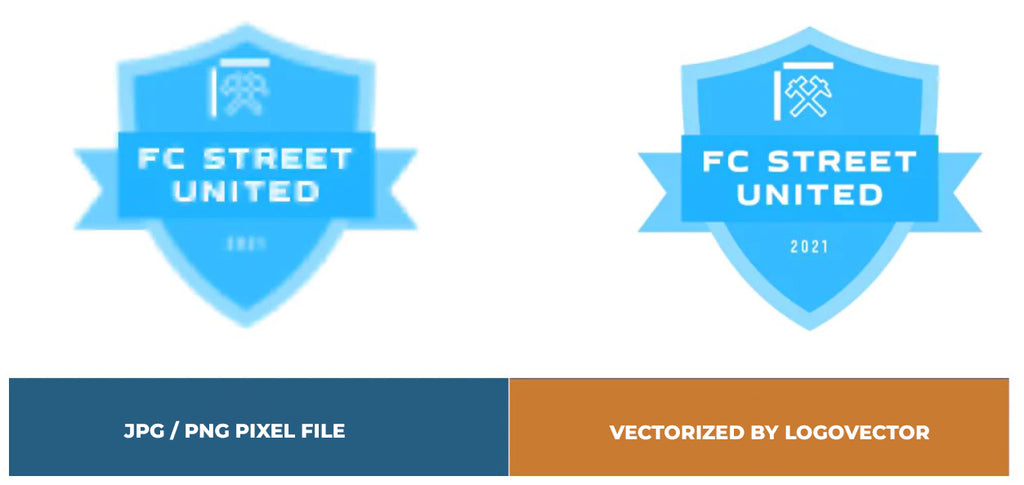
We are happy to help you on your way with the vectorization of your logo or image. You send us the logo in JPG, PNG or PDF and we convert the logo into an EPS vector file using Adobe Illustrator. We use the pen tool and recreate the logo manually with the correct fonts. Then we export the new vector logo in an EPS file so you can get started!
Advantages of vector file creation by Logovector:
- Perfect quality (Made by designers with 10+ years of experience)
- We vectorize images, photos, logos and drawings
- Fast delivery within 10 hours
- All necessary file types: EPS, AI, SVG, PDF
- Very easy to order via the website
- Small adjustments are possible
- One-time payment (very attractive price)