Your Cart is Empty
Vectorise bitmap
Vectorising bitmap images is a crucial process in digital graphics, allowing for scalability and versatility in design. This guide will explore what vectorising a bitmap entails, the differences between bitmap and vector graphics, and how to effectively vectorise bitmap images.
What is a Vector in Bitmap?
Understanding Bitmap and Vector Concepts:
- Bitmap Images: Also known as raster images, bitmap graphics are made up of pixels, each with a defined color and position. Common bitmap formats include JPEG, PNG, and GIF.
- Vector in Bitmap Context: When referring to 'vector' in the context of bitmap, it usually involves converting bitmap images into vector graphics. Vector graphics use mathematical equations to represent images, making them scalable without losing quality.
The Role of Vectorisation in Bitmaps:
- Vectorisation Process: This involves converting the pixel-based bitmap image into a vector format, such as SVG, AI, or EPS.
- Applications: Vectorisation is widely used in logo design, typography, and any graphic work where resizing without quality loss is essential.
Difference Between Bitmap and Vector Graphics
Understanding the fundamental differences between bitmap and vector graphics is key to appreciating the vectorisation process.

Key Differences:
-
Resolution Dependency:
- Bitmap: Resolution-dependent; quality diminishes when scaled up.
- Vector: Resolution-independent; retains quality regardless of scaling.
-
File Size:
- Bitmap: Larger file sizes, especially at higher resolutions.
- Vector: Smaller file sizes and more efficient for complex designs.
-
Editing and Manipulation:
- Bitmap: Pixel-based editing; detailed manipulation can be complex.
- Vector: Based on geometric shapes; easier to manipulate without quality loss.
-
Usage:
- Bitmap: Ideal for photographs and detailed imagery.
- Vector: Best for logos, icons, and graphics that require frequent resizing.
Choosing the Right Format:
- Based on Purpose: Use bitmap for detailed images and photographs, and vector for designs that need scalability.
- Conversion Considerations: While bitmap can be converted to vector, the process may require manual adjustments for precision.
How Do You Vectorise a Bitmap?
Vectorising a bitmap image involves several steps and can be done using various software tools. This process is essential for graphic design, especially when working with images that need to be scaled.
Steps to Vectorise a Bitmap:
- Select Suitable Software: Choose a vector graphic editor like Adobe Illustrator, CorelDRAW, or Inkscape.
- Import the Bitmap Image: Open the bitmap file in the chosen software.
- Use Tracing Tools: Employ the software's tracing function to convert the image into vector paths.
- Refine the Vector Image: Edit the vector paths, adjust shapes, and refine details for accuracy.
- Export as a Vector File: Save the final image in a vector format like SVG, AI, or EPS for versatile use.
![]()
Software-Specific Tips:
- Adobe Illustrator: Utilize the 'Image Trace' feature for automated tracing with adjustable settings.
- CorelDRAW: Leverage the 'PowerTRACE' tool for efficient bitmap-to-vector conversion.
- Inkscape: Use the 'Trace Bitmap' function for free and open-source vectorisation.
If you are not computer savvy, we can help you vectorise your bitmap file. You can use our vector service.
Best Practices for Vectorising Bitmaps:
- Start with High-Quality Bitmaps: Higher resolution images result in more accurate vectorisation.
- Manual Tweaking: For complex images, manually adjust the vector paths for enhanced precision.
- Understand Limitations: Some details in bitmap images may not translate perfectly to vector and might require artistic interpretation.
Vectorise bitmap online
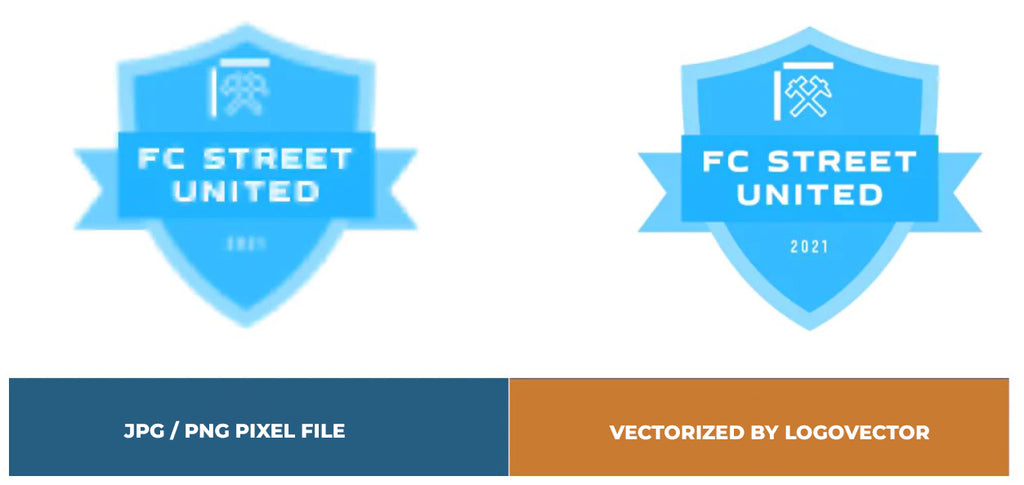
We are happy to help you on your way with the vectorization of your logo or image. You send us the logo in JPG, PNG or PDF and we convert the logo into an EPS vector file using Adobe Illustrator. We use the pen tool and recreate the logo manually with the correct fonts. Then we export the new vector logo in an EPS file so you can get started!
Advantages of vector file creation by Logovector:
- Perfect quality (Made by designers with 10+ years of experience)
- We vectorize images, photos, logos and drawings
- Fast delivery within 10 hours
- All necessary file types: EPS, AI, SVG, PDF
- Very easy to order via the website
- Small adjustments are possible
- One-time payment (very attractive price)